
Foam padding is an essential part of furniture assembly and repair. It provides cushioning and support to furniture pieces, making them more comfortable and durable.
Foam padding can be used to protect furniture from wear and tear, as well as to provide a softer surface for sitting or sleeping.
Making your own foam padding is a great way to save money and customize the look and feel of your furniture.
With the right materials and tools, you can easily make foam padding for furniture assembly and repair.
To make foam padding, you will need foam sheets, scissors, and a hot glue gun. First, measure the area of the furniture that needs padding and cut the foam sheet to the desired size. Then, use the hot glue gun to attach the foam sheet to the furniture. Make sure to press down firmly to ensure a secure bond. Finally, trim any excess foam and you’re done! With foam padding, furniture assembly, and repair will be much easier and more comfortable.
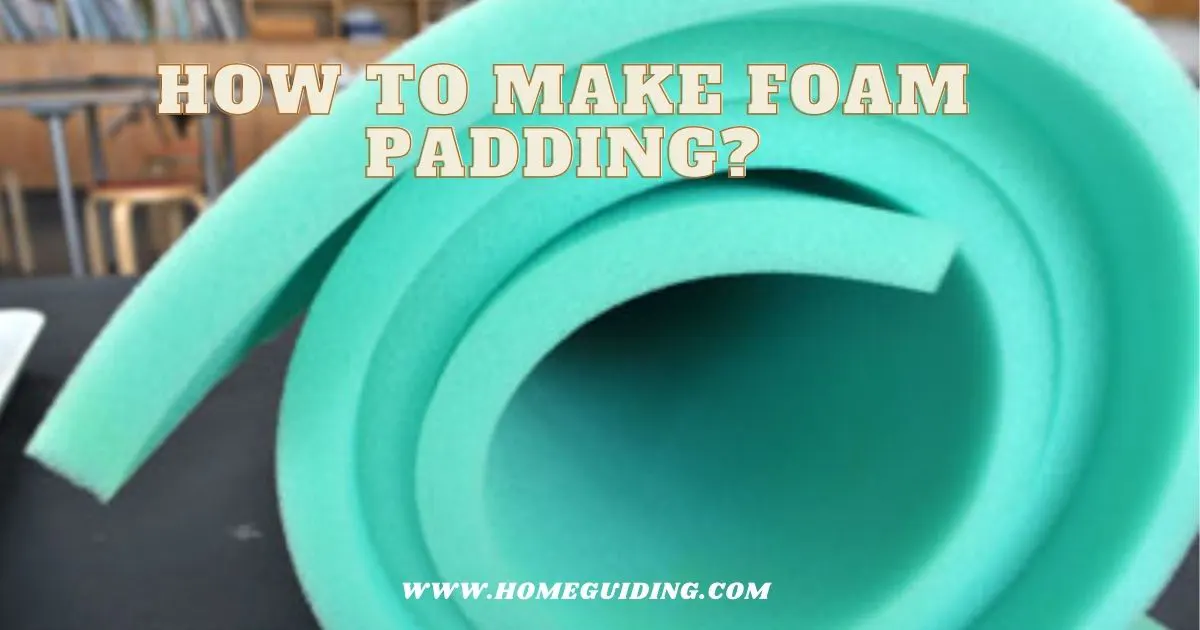
How to Make Foam Padding?
If you are looking to craft a special piece of furniture, then consider using foam padding as a component. This versatile material has dozens of applications, including:
To begin crafting your project with foam, select an appropriate density based on what will be utilized.
If we were constructing a simple chair or table, we could select between 1-2 pounds per cubic foot (1 ccf) or 2 – 3 ccf; while utilizing additional materials such as plywood and nails would result in densities reaching up to 4 ccf.
When choosing between these options it is important to consider how much weight will be placed upon the furnishings.
Ultimately, this decision must be based upon personal preference and budget constraints!
With its protective qualities and high rigidity, foam board is often employed for making shelves, partitions, and even miniature models – all without the need for any additional adhesives or fasteners whatsoever!
One of the most intriguing facts about foam is that unlike wood panels or plastic parts, it may be cut, drilled, and sanded with relative ease before being encased within a rigid structure such as metal.
To produce an eye-catching cabinet from scratch utilizing this material takes little effort – yet achieving perfection isn’t always easy!
Materials Needed:

If you’re eager to learn how to make foam padding for furniture, there are a few materials needed for the project. Let’s take a look!
The necessity of sugar-based compounds brought about an exponential surge in their production in recent decades.
Without these essential compounds, not only would we lack many of our favorite snacks; but without them, life as we know it could come screeching to a halt!
Lucite is a transparent synthetic polymer that was initially created in 1940 and utilized in aircraft instrument panels and cockpit displays.
Since then, this lightweight material has been utilized for displaying window displays, signage or accessories within homes or establishments for decorating purposes.
1. Cut or tear pieces of foam.
Before proceeding, you will need to procure a suitable material – either sheet or cut-to-size pieces will suffice.
When cutting foam into various shapes, we recommend using a handsaw as it is an ideal choice for quick and precise cuts.
For straight edges use your circular saw while employing jigsaws for intricate ones. If need be, don’t forget a coping saw which can help provide the ideal finish while shaving off any rough edges!
2. Attach the padding to the chair or piece of furniture. Use staples
If you are utilizing an existing chair or piece of furniture, it’s possible to use staples to affix the padding. Gently pry off any staples from your material.
Then melt down any leftover foam from earlier steps into a malleable state with an oven and apply it where needed.
If you’re making padding for a brand-new piece of furniture, then you’ll need to fabricate the sturdy frame first before being able to attach it.
To do this is quite simple: utilize 2x4s along with some screws in order to put together this framework whereupon then fill it with polystyrene beads – all without leaving any gaps!
Double-sided tape:
If you require a strong adhesive that won’t fail even in the harshest of settings, double-sided tape is ideal!
This versatile tool is indispensable when crafting foam padding. It comes in a variety of colors, with white being the most commonly used. You can find it at any hardware store or craft supply store.
Velcro
If you’re looking for lightweight, durable padding materials with an element of convenience thrown in – be sure to check out these staple choices.
Velcro makes a great choice for quick and easy assembly. Just stick the corners around each component, and then fold them back onto themselves – there’s no need to trim or even cut any material! It’s quite simple!
If you’re feeling particularly industrious, consider combining Velcro with foam. This product is commonly available in a variety of thicknesses, so you can customise it to your preference depending on how much padding you need.
Or glue.
If you possess a trampoline or other inflatable device that requires repair, we can guide you through the process of restoring it to functionality.
To rectify a punctured airbag, you could attempt poking out the hole with a needle or prying it open with pliers. Once this is accomplished then simply seal up any gaps with hot glue to ensure that it stays put!
If your inflatable mat has received any damage, patching will be needed in order for it to continue functioning at its optimum level.
In this case, it will be vital to find a good adhesive for sealing up any holes or tears as well as making sure none remain as inflatables are prone to expanding and subsequently growing in size when re-inflated
3. Roll out the padding:
Gather all your materials for the job and step back about an hour before starting it. First, prepare your work area by clearing everything away from its original location.
Do not forget to also remove any objects within reach – such as cupboards or drawers – so as not to impede progress during this process!
Unravel the fiberfill insulation from its protective casing.
And use hot tools to attach it to the material you’re using for a backing (like plywood).
If you are just seeking to create a cushion, then it’s simple: simply choose the size that suits your needs and apply your preferred filling material.
However, if you wish to infuse some dimensionality into the creation before affixing it to whatever base material is being employed as well.
Such as customizing dimensions on chairs or even employing multiple layers of padding – then one could find themselves in an overwhelming predicament!
If your project requires more planning than just selecting a type of foam and applying it directly to your backing piece, then consider utilizing a polyurethane-based adhesive instead.
This can be applied with any craft knife or rotary tool – like an electric drill – which means you’ll have far fewer chances for error when crafting.
4. Cover the entire piece with batting and seam tape for added support and protection:
Once you’ve finished constructing your padded surface, it’s time to add some finishing touches.
For some pieces that require additional support, like above-ground pools or bar stools, adding a layer of batting over the foam can be beneficial.
However, if your design calls for one piece of padding placed between two pieces of material then an even layer may not be required.
To further fortify the bond between the foam and the skinless plastic sides used for this project, I utilized to glue and tacky seam sealant to ensure it remains secure throughout its lifetime.
The adhesive is water-based and non-toxic – no need to fret about any potential danger!
If needed.
If you are seeking the most cost-effective alternative, then using foam board may be an ideal choice.
It can be easily found at any local hardware store and even sold in rolls of varying sizes – all you need to do is cut it into pieces appropriate for what you’re making.
To provide padding for a sofa, simply lay down a couple of layers of foam board on top of each other.
Ensure that your desired thickness is achieved by stacking additional layers upon them – this will determine if further cuts will be necessary when slicing through the stack later on!
If you’re aiming for a sturdy construction, cut the foam board into strips ranging from 6 inches (half-inch thick) to 24 inches long.
What Is Foam Padding Made Of?
Foam padding is made from three main components: the outer layer, the inner layer, and the padding.
The outer layer is made out of a very soft material that will come in contact with the product it is going to protect.
The inner layer will be made from high-quality foam that is thoroughly soaked in hot glue.
Finally, the padding is made from latex or some other elastic material that will provide comfort for your body when you are using the chair.
How to Care for Your Foam Padding?
If you have made foam padding, you probably know that it needs to be cared for properly. If you are not making your own, then there are some guidelines on how to care for your foam padding.
The first thing you need to do is to follow the manufacturer’s instructions and ensure that your foam padding has been thoroughly washed and dried before using it.
You also need to make sure that the surface from which you are making foam padding has been completely dried.
After all these steps have been taken, we can move on to this next step: carefully removing any hard-to-remove substances stuck onto the surface of your foam padding.
How to Identify Types of Foam Padding?
A foam pad is made of a material that is translucent and fluffy. The material of the foam padding has a high level of compressibility, making it very easy to use. It’s also lightweight, which makes it easier to transport.
If you know how to identify different types of foam padding, then you should be able to figure out what type your product will be and how you will use it.
Conclusion
One of the most important things that you can do in the world of foam padding makes sure that you are working with the right materials.
Foam padding is made of many different things, but the most important thing to focus on is the density of the foam padding.
You will want to use foam padding that is dense, especially if you are trying to make something that is going to be used in a harsh environment.
That being said, you also have to make sure that you can work with the foam padding and make it as dense as you need it to be, which is where this blog post comes in.
We hope you enjoy it, and we hope it helps you to reach your goals of foam padding for the project you are working on.