
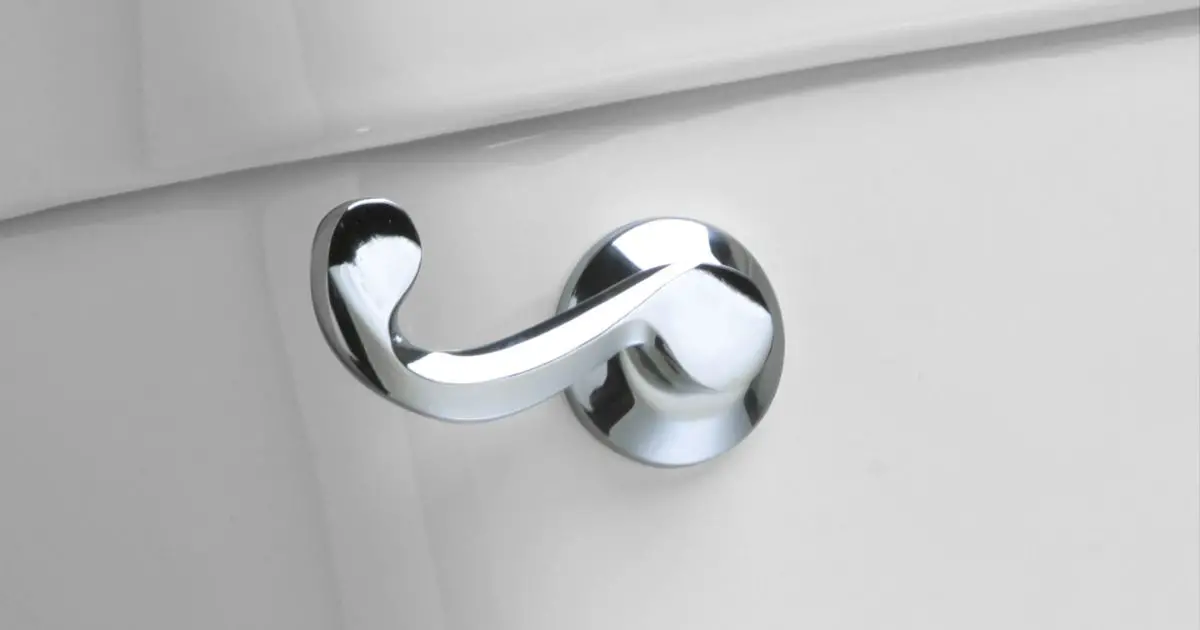
Are you experiencing difficulty pushing down the handle of your toilet? This can be a frustrating problem, preventing you from being able to flush and clean out your toilet bowl. Fortunately, understanding why this is happening is straightforward.
In this article, we’ll explore what could be causing the handle on your toilet to become hard to push down – and some possible solutions that may help get it working again!
The most common reason why a toilet handle is hard to push down is because of excess sediment buildup in the fill valve. Over time, debris and minerals from your water can accumulate inside the tank, preventing the fill valve flap from closing completely when you flush.
This can cause pressure build-up that makes it difficult to push down on the handle. To resolve this issue, you should remove and clean out any sediment in your fill valve every two months or so.
Causes of Stiff Toilet Handle:
One of the primary causes of a stiff toilet handle is corrosion. When water, air, and other elements interact with the handle’s metal parts, rusting can occur leading to a slow-moving or stuck flushing mechanism.
Rust build up in the linkage between the flush lever and tank ball can cause resistance when pushing down on it.
It’s important to note that while some rust buildup is normal over time, if you experience this problem regularly then it may be time for maintenance or even replacement of your toilet handle.
In addition to corrosion, mineral deposits can also accumulate around the linkages between parts causing them to become tight and difficult to move.
Hard water contains high levels of minerals like calcium and magnesium which are known for leaving behind stubborn residue on surfaces they come into contact with.
This could lead to increased friction between components making it harder for you to push down on your toilet handle when necessary.
To avoid this situation from occurring too often make sure you regularly clean these areas as part of your regular bathroom cleaning routine .
Finally, another possible culprit causing a stiff toilet handle could be faulty internal components resulting from an old age or wear-and-tear over time due to frequent usage.
The connecting pieces inside your tank may have worn out due lack of lubrication which would require professional repair work in order restore proper function again.
If any other symptoms such as leaking from the base arise along with a hard-to-push lever then its best practice seek out help from a qualified plumbing technician right away since underlying issues are likely at play here as well
Reasons for Difficult Flush:
One of the main reasons a toilet handle could be difficult to push down is because of clogged or blocked pipes.
This is often caused by build-up in the pipes due to hard water, debris, and other solid particles that are too large for the pipe.
If you have had problems with your toilet flushing properly before, it’s likely this is what has caused the flush difficulty now.
Another common cause of a difficult flush could be an issue with the chain attached to the flush lever arm inside your tank.
The chain should always remain taut when in use so that it can trigger the flapper valve at just the right moment for proper flushing performance.
If there is any slack in this chain then it will not lift up high enough to open said valve and instead leave your bowl partially full after each flush.
Finally, more than one problem can occur if your toilet isn’t installed correctly from day one – something as simple as being unleveled may result in improper water flow during a flush cycle and lead to tough handling afterward.
For example: if there’s too much pressure on one side or another when pushing down on the handle but not enough force coming back up again then that would explain why it doesn’t seem like anything happens no matter how hard you try!
Symptoms of Malfunctioning Handle:
Malfunctioning toilet handles can cause a variety of issues. A handle that is hard to push down may indicate an issue with the internal mechanism, such as faulty linkage or warped plastic parts.
In some cases, it could be caused by mineral deposits which have built up inside the fixture over time. Other potential causes include corrosion and incorrect installation.
A visual inspection will often reveal if there are any broken or worn components that need replacing, but in some cases more detailed troubleshooting may be required.
If standard cleaning techniques don’t work, it’s likely that a professional plumber will need to perform repairs to resolve the problem.
It is not always recommended for homeowners to attempt DIY repairs since complicated parts within the handle unit may require special tools and experience to replace them correctly.
In most instances, taking care of your fixtures on a regular basis should help keep them functioning properly and reduce the risk of malfunctioning handles due to buildup and wear-and-tear damage from daily use.
Keeping your toilet clean using proper cleaning agents can also help prevent blockages which can interfere with normal operation of the handle mechanism.
Tips for Fixing Hard-to-Push Handle:
When a toilet handle is hard to push down, it’s usually because of an issue with the flushing mechanism inside the tank. To fix this problem, there are a few tips that might help:
1. Check the lift chain
First, check the lift chain connecting the flush lever to the flapper valve at the bottom of your toilet. If it’s too tight or too loose, you may need to adjust it until it fits snugly around both components.
This will ensure that when you press down on the flush lever, it lifts up and pulls open the flapper valve correctly.
2. Debris or buildup
Second, examine any debris or buildup in or around your toilet tank – especially near where your handle connects to its internal parts – as this could be causing resistance when pushing down on your handle.
It’s important to remove any build-up before continuing with other repair attempts as these can get worse over time if not taken care of promptly.
3. Inspect all moving parts
Finally, inspect all moving parts for wear and tear which could cause friction and make pushing down difficult or even impossible in some cases; replacing worn out seals or washers can sometimes do wonders for improving how well your toilet handle functions!
Benefits of Replacing Faulty Parts:
The first benefit of replacing faulty parts on a toilet handle is that it can help improve its overall performance.
A working handle should be easy to push down, and if the current one isn’t functioning properly then a replacement will likely solve the issue.
Replacing faulty hardware also allows users to avoid potential hazards associated with an inefficient handle which may cause water damage or injury.
Additionally, replacing defective parts can extend the life of your toilet by preventing further wear and tear from occurring.
Over time, components like handles experience natural deterioration due to regular use or environmental factors such as humidity, heat or cold temperatures.
By installing high-quality replacements in place of older ones you can ensure your system runs smoothly for longer periods without needing repairs or replacement.
Finally, replacing faulty parts is often more cost effective than undertaking extensive repairs which could prove expensive over the long run.
Fitting new fixtures and hardware prevents future costly maintenance needs while providing a comfortable user experience with minimal disruption from broken pieces and ineffective levers.
Steps to Troubleshooting a Toilet Lever:
Troubleshooting a toilet lever can be an intimidating task, but it doesn’t need to be. To ensure your toilet is functioning properly, the following steps should help you identify and address any issues quickly and easily.
First, check for any visible obstructions around the lever or handle that could be preventing it from moving freely. If there are any foreign objects blocking its movement, remove them as best you can and then attempt to move the handle again.
If there are no visible obstacles in sight, examine the area where the chain connects to see if it has become disconnected or broken.
If so, reattach or replace the chain using pliers and/or a screwdriver depending on how securely it has been attached before moving onto other inspection points in this guide.
Next inspect both ends of the tank flapper valve by unscrewing their mounting bolts with a wrench.
Move each end up and down slightly while checking for signs of damage such as cracks or corrosion which may cause it not to open fully when pulling down on the handle-bar; this will reduce water flow into the bowl resulting in weak flush power!
Replace both valves if necessary before continuing onwards with further inspections listed below:
How to Tighten or Replace the Chain Connectors?
Replacing or tightening the chain connectors on your toilet handle is a fairly simple task. It should take no more than an hour and requires only basic tools, such as needle-nose pliers and screwdrivers.
First, you’ll need to remove the lid of the tank by unscrewing it from the backside of the toilet bowl. You’ll then locate the two plastic or metal chain connectors that attach to either end of the flush lever or handle inside.
The next step is to use your needle-nose pliers to loosen both ends of each connector so they can be separated from their respective chains; this will allow you to inspect them for wear, rust, or corrosion.
If either connector has any visible damage, replace it with a new one that matches its size and shape precisely.
If neither connector needs replacing but does appear loose after being disconnected from its chain link(s), then tighten each one individually by squeezing gently with your needle nose pliers until it’s snug against its link(s).
When finished reattaching all four pieces (both connectors and both chains) make sure everything is secure before putting back on your tank lid.
By following these instructions you should now have successfully tightened or replaced your toilet handle’s chain connectors!
Benefits of Professional Plumbing Services:
The benefits of professional plumbing services can’t be overstated.
Quality plumbers have experience and expertise that many homeowners don’t possess, which is why it’s important to call in a pro when you’re dealing with issues like a toilet handle that won’t push down properly.
Professional plumbers know the ins and outs of your home’s plumbing system, so they can help diagnose what might be causing the issue quickly and efficiently.
Not only do professional plumbers bring expert knowledge to projects like this one, but they also come equipped with specialized tools designed for plumbing repairs.
In some cases, these tools may not be available to homeowners who are attempting DIY repair jobs—and using improperly sized or shaped replacements could actually make matters worse!
Professional plumbers will use their special toolkit to accurately identify any underlying problems before going forward with any necessary repairs or replacements.
Finally—and perhaps most importantly—professional plumbing services provide peace of mind that all work will be done correctly and safely the first time around.
Plumbing systems are complex networks made up of pipes, fittings, valves and fixtures; if even one small detail isn’t addressed correctly by an amateur plumber, it could cause bigger problems down the line that may require costly repairs later on.
A certified professional ensures that each job is done right from start to finish for optimal performance and minimal maintenance needs over time!
How do you fix a sticking toilet flush handle?
If your toilet flush handle is sticking, the problem may be as simple as mineral deposits that have accumulated on the mechanism.
To fix this, you can use a combination of white vinegar and baking soda to dissolve any limescale build-up.
Simply mix equal parts of these two ingredients in a bowl, then pour them into the body of the toilet water tank.
Let it sit for an hour or so before flushing. This will help to break down any hardening deposits that could be blocking the lever from moving freely.
Alternatively, if there’s a plastic cap covering your refill tube or float arm assembly at the top of your tank, remove it and check for debris inside—like pieces of broken rubber sealant or other particles that might block movement when pushing down on the handle.
Cleaning out those areas may solve your issue without needing to replace anything else in the process.
Finally, it’s important to mention that if none of these solutions work then replacing your existing flush handle with a new one is likely necessary.
This part wears out over time due to regular usage and should be replaced every few years (or sooner if problems arise).
Flush handles are relatively inexpensive and easy enough to install—just make sure you purchase one compatible with your model toilet!